I recently filmed a lesson for the Make Models course where I flip through the pages of my daily driver: a large Leuchtturm1917 notebook that has become the center of all my visual thinking work.
I thought that this type of walkthrough would be of interest to a broader audience as well, so I decided to post it publicly, which you can watch above.
Here’s a summary of the key ideas from that walkthrough.
Find Your Daily Driver
In a previous lesson on The Capture Habit, I introduced two categories of materials: a running journal (your everyday notebook) and a project container (dedicated to a specific project with a clear end point). I’ve since started calling that everyday notebook a “daily driver,” because I think it better captures the role it plays: it’s the thing you reach for first, every day, for whatever you’re thinking about or working on.
For me, that daily driver is a large Leuchtturm1917 notebook (225 x 315mm, 235 pages). The size matters. With this much space, I don’t feel precious about any given page. I can be messy. I can experiment. It’s not a presentation tool, it’s a thinking tool, a drafting tool, a place to build skills and habits.
A small notebook like a pocket Moleskine has its uses, but for a daily driver I want room to spread out without worrying about wasting space.
Put Everything in One Place
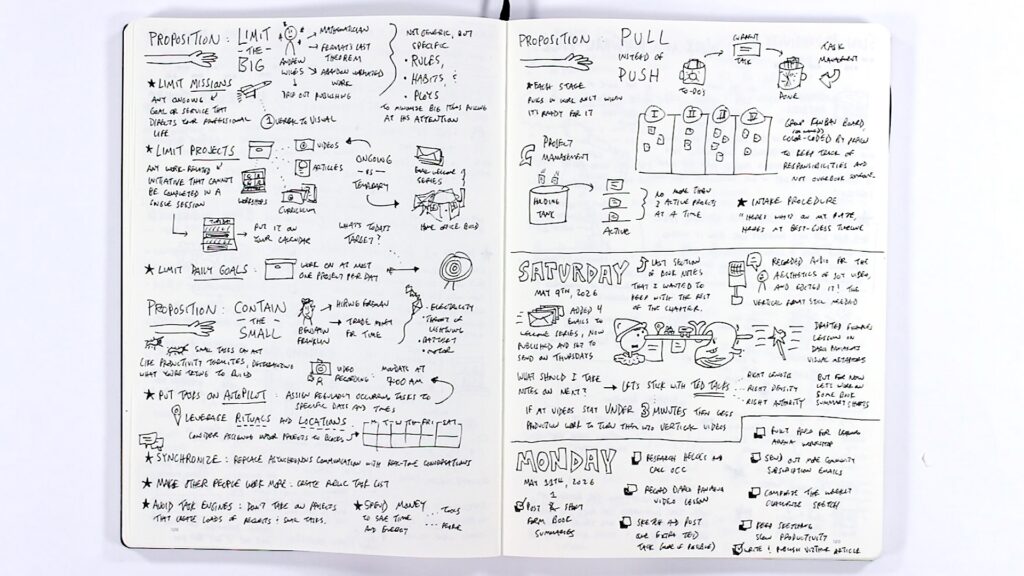
One of the most valuable shifts I’ve made is keeping everything in this single notebook: book notes, to-do lists, thumbnail sketches, workshop notes, project planning, even drawings of my future office in the forest. All of it, intermixed.

That decision was influenced by something Dave Gray shared in one of our workshops: he enjoys having one primary notebook because ideas from different sources can collide with and interact with each other when they live next to each other, instead of being separated into different folders.
I’ve found this to be true. When my notes on Slow Productivity sit next to a to-do list, which sits next to thumbnail sketches for a video, which sits next to notes from a podcast, connections happen that wouldn’t if those things were siloed.
Use Visual Cues to Stay Organized
When everything lives in one notebook, you need a way to find things later. Two techniques have helped me:
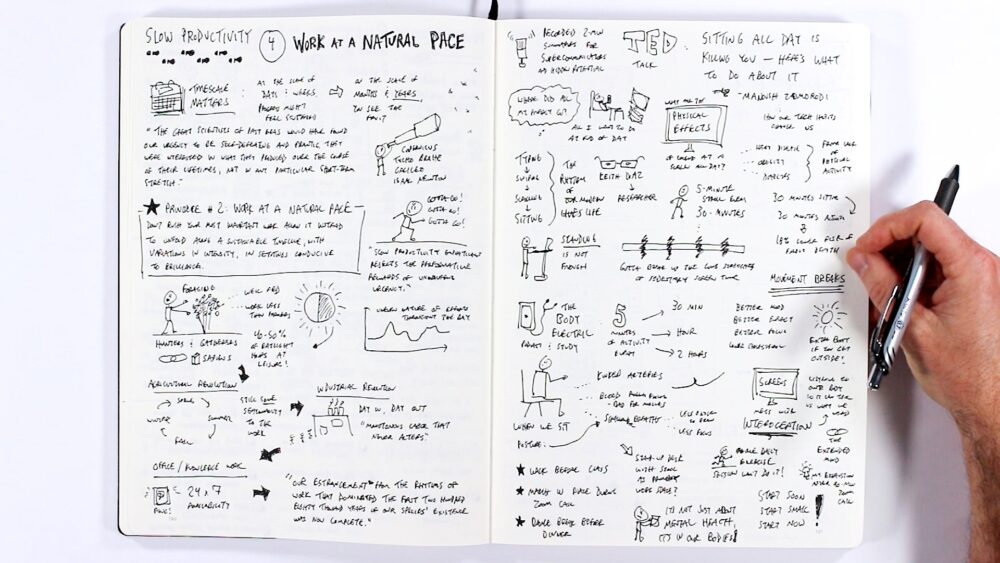
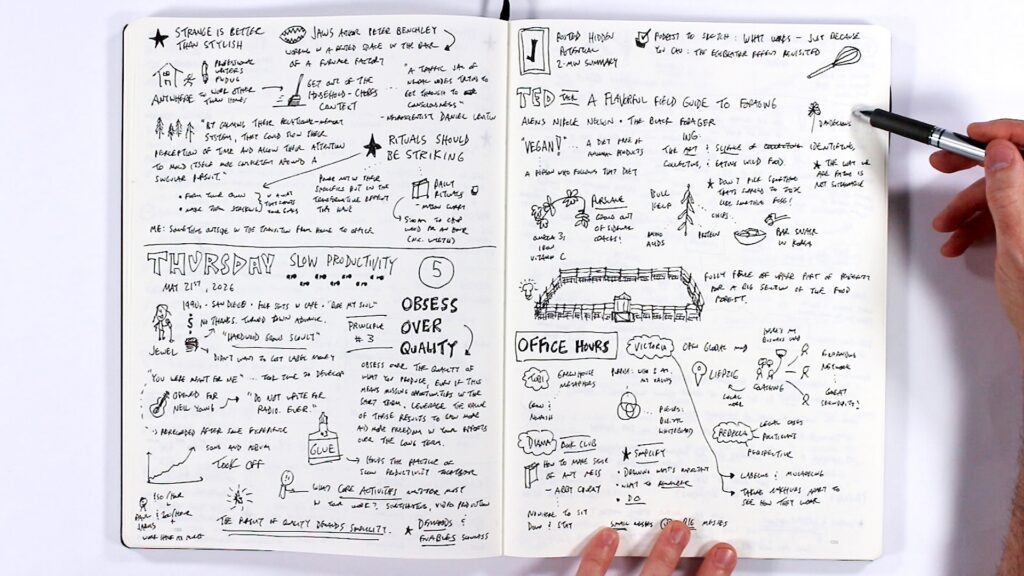
First, I use a consistent title and image whenever I start a new section of notes on a particular book. For Slow Productivity, every section begins with the same little visual marker (footsteps moving across the page), making it easy to spot when flipping through pages.
Second, I bold key terms and titles so they stand out during a quick scan. When you have large pages packed with ideas, that visual hierarchy makes a real difference in navigability.
Not Everything Needs to Be Polished
Some of my notebook pages turn into YouTube videos. Many don’t. I took notes on a TED Talk called “A Flavorful Field Guide to Foraging” that was interesting but didn’t have standout takeaways worth developing further, and that’s completely fine.
You don’t have to get every single sketch to the point of being a polished one-page sketchnote. For a lot of what you’re working on, rough initial visual notes might be all you need. The notebook is doing its job just by helping you think.
When You Do Polish, Here’s the Process
For the ideas that do become videos, my process generally moves through these stages:
First-stage visual notes. I watch or listen to the source material and capture ideas in a rough blend of short phrases, little sketches, and bullet points. No plan for layout, I just go for it.
Thumbnail sketches. Once I have a sense for the content, I start experimenting with small sketches of how the final visual might look. This is where I figure out the composition and the central image.
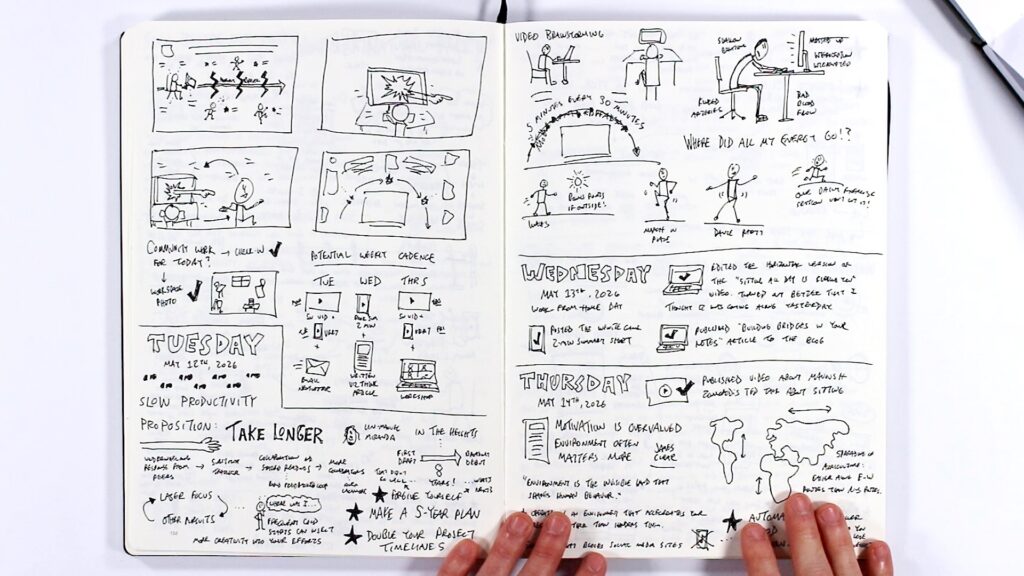
Full-size draft. For more complex sketches, I’ll do a full-scale draft: sometimes on paper, sometimes digitally using the app Concepts on my iPad. When drafting digitally, I set up a frame matching my paper dimensions (nine by twelve inches), fill the screen with it, and then force myself not to zoom or pan. It’s a way of bringing an analog mindset to a digital tool.
Record the sketch. With the draft as a reference on my computer screen, I sketch the final version on paper while recording. Sometimes I’ll make small adjustments on the fly, adding an element that feels right in the moment.
Record the narration. Rather than writing a word-for-word script, I play back the recorded sketch and talk through each element one at a time. I find this gives the narration a more natural feel.
Edit the video. Bring the sketch and the narration together.
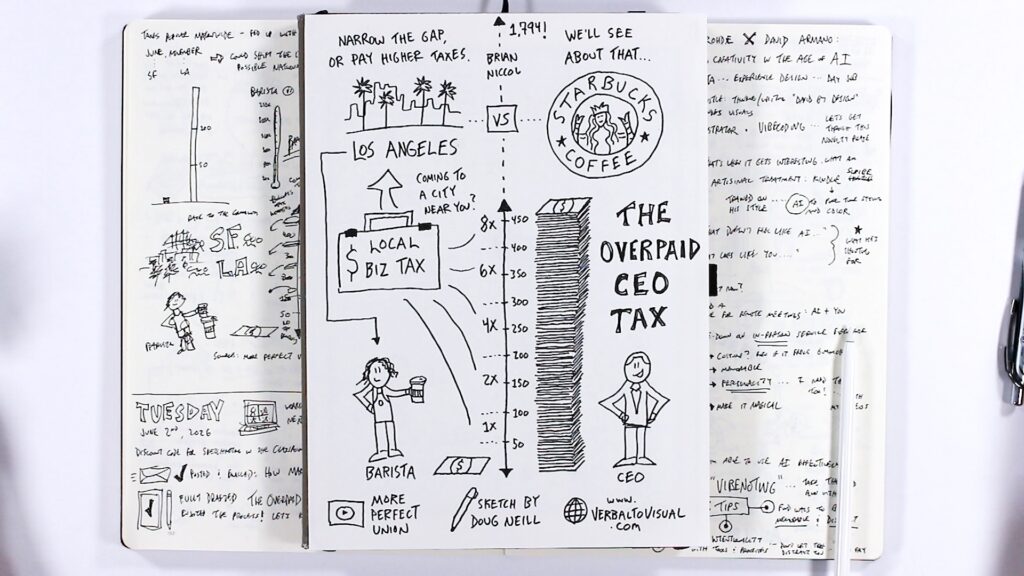
The Lesson of Infinite Bowling
After my video about The Overpaid CEO Tax started going viral on TikTok and Instagram (now over 1 million views), I found myself thinking about Seth Godin’s concept of “Infinite Bowling,” which also shows up in Rick Rubin’s The Creative Act. The idea is simple: once you reach the top of the mountain with a project, push it down the hill. Be done with it. Publish it. Move on to the next one.
That’s easy to embrace when something doesn’t perform well, to say “Okay, it’s done, on to the next.” But it’s just as important when something does perform well. The temptation is to chase that success, to try to recreate the exact same thing. While there’s value in understanding what worked, you have to be careful not to start chasing likes or virality.
What you control is your intention and the values you bring to a project. As Cal Newport warns in Digital Minimalism, constantly checking how a post is performing can take you down a path where you’re gambling for likes every time you refresh your feed. Better to get back to the work: the next project, the next sketch.
Your Turn
My hope is that you can find a daily driver that works for you. It doesn’t have to look like mine. What matters is the momentum, the regular use, the experimentation, and a growing capture habit that feeds naturally into both your visual thinking skill development and the specific projects you want to complete.
If any of the tools or techniques I shared here sound intriguing, give them a try.
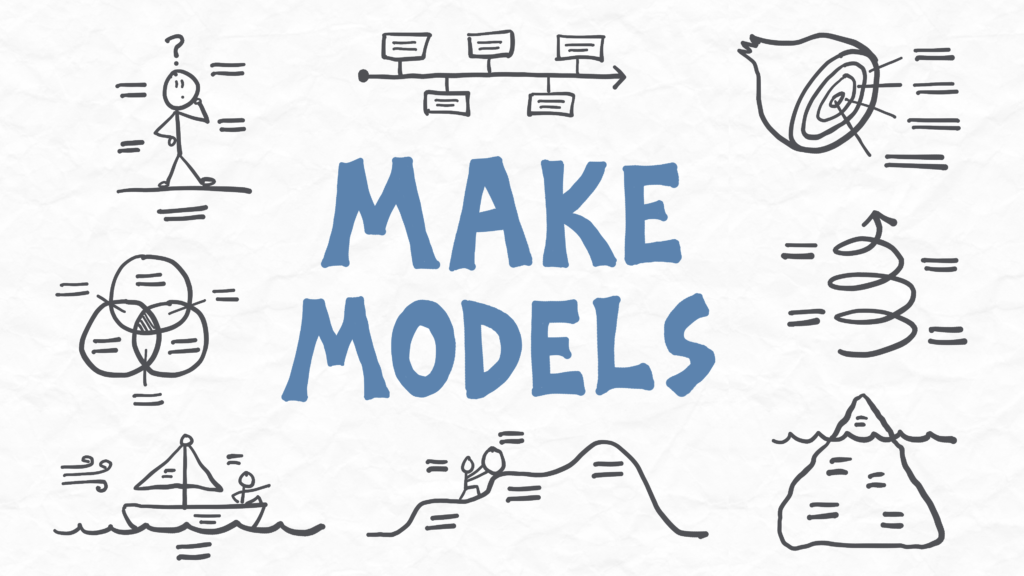
For more support building your skills, check out the Make Models course.